Getting Started
To begin creating a Virtual Event in PathFactory’s Virtual Event Experience (VEX), start by navigating to the Virtual Event Tab in the primary PathFactory navigation.

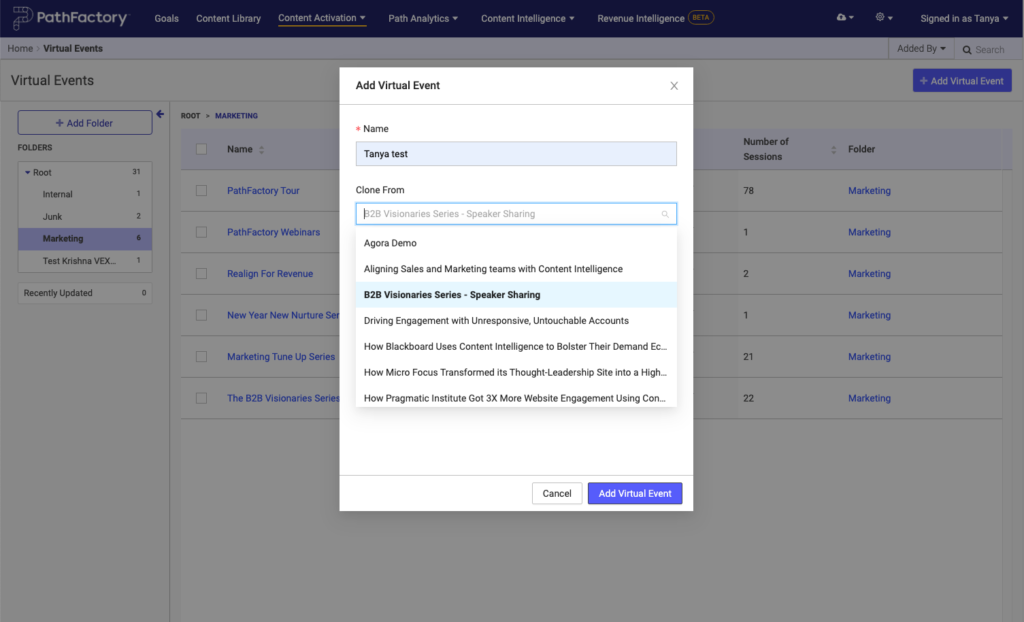
Click + Add Virtual Event, give the event a name, then click Add Virtual Event (you can change the event name later if required).
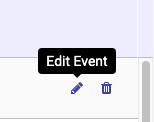
With your event created, you can rename it and save to a different folder if you wish. You do so by locating the event in the list of events, and then hover over the event you want to configure. Click the pencil icon that appears.
If you want to remove an event, hover over the event in the list of events, and then click the trash can icon.

At the prompt, confirm you wish to remove the event or cancel out of the process. Note: you cannot recover a deleted event.

PathFactory automatically generates a URL for the event (‘Event Link’) created as a new URL slug appended to the end of your PathFactory subdomain. It’s built automatically, using the customer subdomain of your PathFactory environment, with the event URL slug appended to the end. This becomes the public event URL and can also be used as the registration URL if you wish to use VEX to gather registrations. For more information see Registration and Sending Attendees to VEX. This URL slug can be changed in Event Setup (see below).
Event configuration
To configure your event, select the event from the list. You now see multiple tabs along the top of the screen. These are your customization tools.

The event name can be changed using the Event Name field. The event name is visible to your audience in several places (eg. the Event Page Title, and in the Header across your event), so be sure to choose something appropriate for an external audience.
The event URL slug is used on the end of the event URL, and can be changed at any time. Note: only change the event URL slug if you have not yet shared a link to your event externally. Changing the event URL slug changes the event URL, which causes the original link to no longer function.
Session configuration
Within a VEX, you add sessions and configure them to meet your needs. To access the configuration options for a particular session, click on your VEX event, and then click the session tab. Click Add Session.
At the prompt, name your session, clone or create from scratch, and select the session type (On Demand or Live).
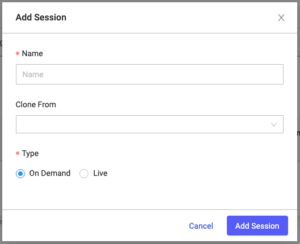
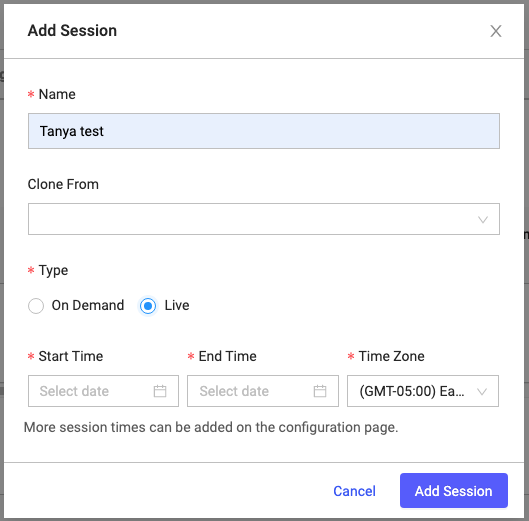
Add Session popup menu If you are creating a Live session, this menu presents the date and time options. If an event is being run at a particular date and time, be sure to enter the appropriate start time, end time and time zone.
The time zone defaults to the time zone you have selected in your organization settings. You may update this setting later to reflect your personal time zone if you wish. Entering these details allows VEX to group live sessions by the day they’re happening in an agenda-style view.
Next, return to the list of sessions and you’ll see your new session there. Click its corresponding Configuration link. This brings you to the Configuration screen.
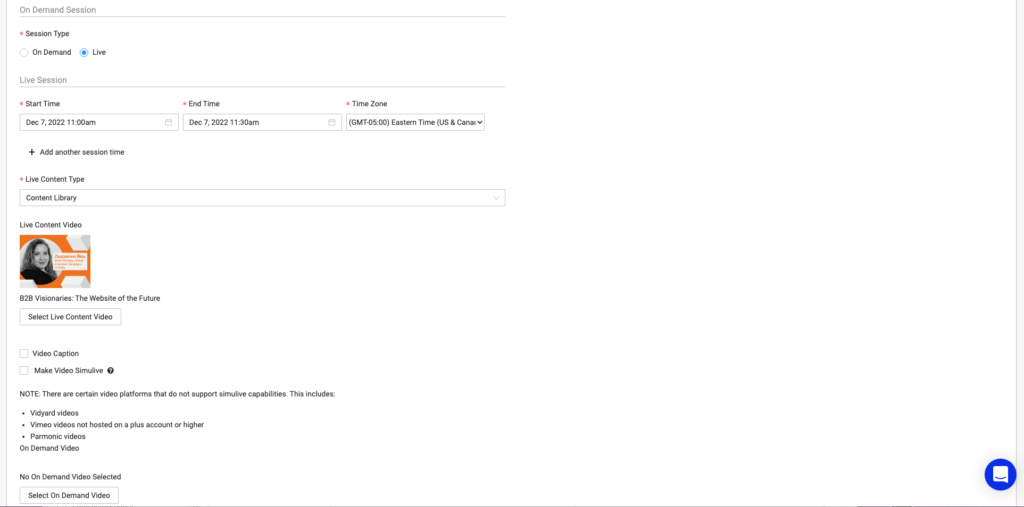
If an event is purely on-demand or an on-going series (eg. run as one webinar per week over the course of many weeks), then entering a start time, end time and time zone is not necessary.
External ID is an optional field that allows you to enter a unique text string for your event, which can then be passed along with visitor session data into other platforms. This can help to identify which visitor sessions were from particular virtual events. The “Experience External ID” field in the Visitor Session and Form Capture webhook will pull in this field see VEX Data Integrations for more information. For Example, if you set your External ID to “field_event_1” you could then parse out visitor sessions to that particular event in your Visitor Session Webhook by filtering on the “Experience External ID” field being “field_event_1”. Some customers enter unique campaign or program IDs into this field and then use automated programs in Marketing Automation to add attendees to the appropriate campaign.
The Attendee Registration Form dropdown menu section allows you to attach a PathFactory standard form from your PathFactory form library to a virtual event for attendee registration. When you select this field you will see a picklist of all of the standard PathFactory forms in your form library. You can only attach one form to an event and it is used across the whole event. For more information see Registration and Sending Attendees to VEX. Registrants who complete this form are visible in VEX analytics and their event engagement data can be pushed to external tools such as marketing automation systems. For more information see Data Integrations.
The language field allows you to indicate which language the event is in. As of the writing of this article this field is exclusively used to localize the text within the track protection feature described below.
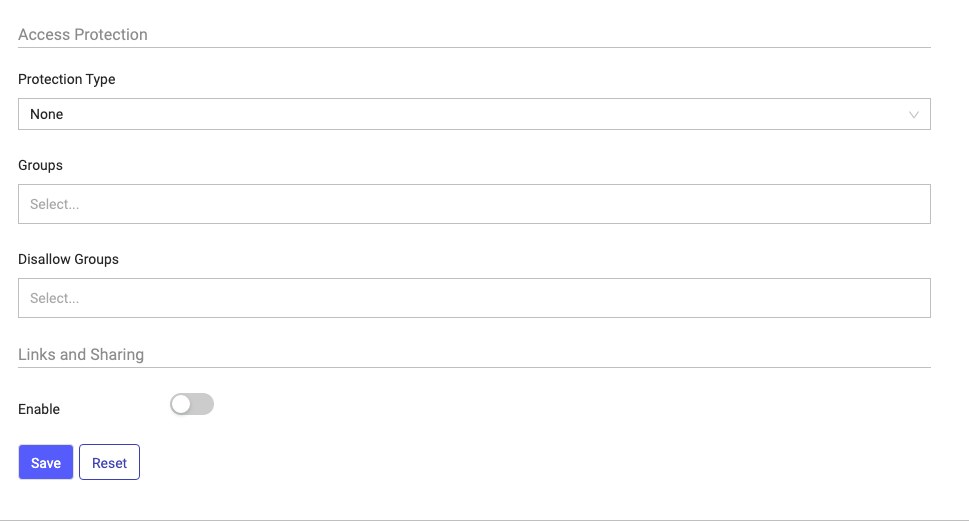
Access Protection piggybacks on functionality introduced to PathFactory Campaign Tools (Content Tracks and Explore pages) in August 2020, allowing you to require email authentication against an allowed list to gain access. Using this feature, any visitor who does not provide an approved email address will not be allowed to access the event. Access Protection first requires setting up one or more groups (effectively allowed list email domains or specific email addresses), within Access Protection settings. With one or more groups you wish to whitelist set-up, you can then begin applying these groups to your event. Simply select the Access Protection field and choose one or more groups from the picklist you wish to whitelist to attend your event.
On the configuration screen, scroll down to the Access Protection field to chose the type of protection, and the groups allowed to view the event.
Just like PathFactory Campaign Tools (Content Tracks and Explore pages) when an attendee attempts to access an event they’re first presented with a modal window (shown below) which requires that they enter their email address. Parts of this modal window can be customized within Language Settings.
A confirmation email is sent only if their email address is on the Access Protection list. If so, an email is sent and they must click the link provided in the confirmation email to verify their email address. After verification, they are allowed access to the VEX event.
That’s it for your event’s initial set-up. Next learn how Registration and sending attendees to VEX works.
Customize time zone naming toggle in Virtual Events scheduling
We have released a feature that lets your Virtual Event audience customize their view of a planned Virtual Experience session, to see the schedule in their local time zone via a toggle. Previously the label for this toggle was only available in English. This release provides you with the option to add translation for this toggle especially if the session is configured in language other than English thereby providing visitors a seamless experience . To use this new feature, follow the steps below.
Note: Even if you create sessions in a language other than English, the toggle label is still displayed in English. You can manually change the displayed text there to match the language you want to display.
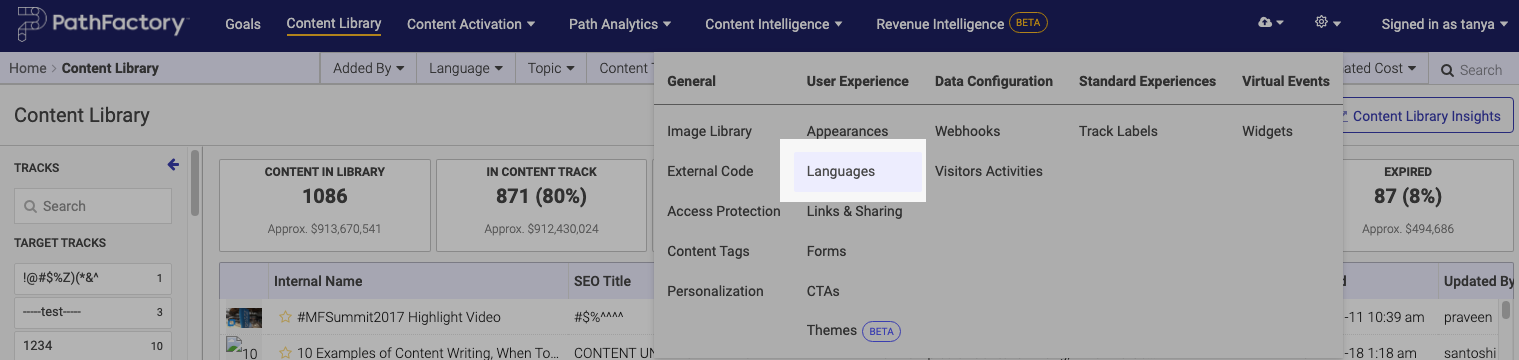
- On the main menu bar, click the Gear icon, and then select Languages.
- Select the Virtual Events tab.

- Now you see a new field for naming the time zone toggle.

- You can leave this text as is, or you can enter the label you want. When you are finished, scroll down and click Save Virtual Event Settings.
Let’s test it!
- On the main menu bar, click Content Activation and then select Virtual Events.
- Open the Virtual Event you want to configure.

- Select a session within that event. Make sure the session type is set to Live and Public (or edit the session to have this configuration).

- Add a date and time for your session, and select a time zone from the dropdown list.

- Scroll to the bottom of the page and click Save. You see a save confirmation message, or you see the errors you need to correct before you are able to save the event.
- Open the session that you just configured. Open the session by clicking on its share link and opening in a new tab.
- On the event sign up page, you see a toggle for the user to display the session time in their own time zone, using the name you added.
Below is an example of a customized toggle name.

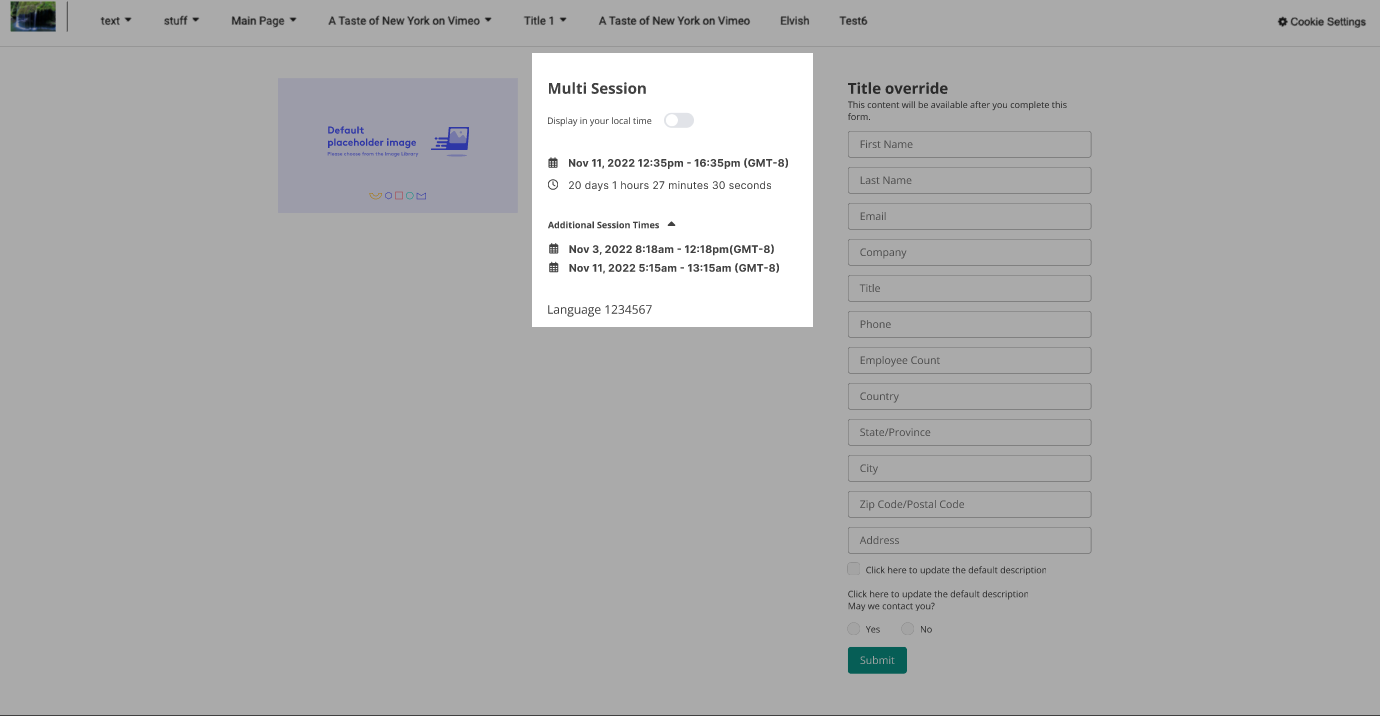
Time zone conversion for VEX session audience
We have added a new toggle “Display in your local time” for Virtual Event live session that lets your audience see the session in their local time. So no need to take out your calculator or count on your fingers – now you can see exactly when your live session will be available to your local audience.
Previously, when the visitor landed in a Virtual Events session, they were able to see the time and time zone that you had configured for the given sessions. This can be a hassle to keep converting the session time into your time zone, especially if you are traveling. This lack of translation could also result in the loss of potential attendees if you miscalculate their session time. This implementation ensures the time zones are dynamic, so that they will auto-adjust to the audience members’ time zone even when they are logged in through a VPN.
Note: This time zone translation accommodates 2 time zones only, session owner configured and audience member’s location.