Creating Session Groups
VEX Session Groups allow you to group separate but related sessions together. This helps keep your event organized and allows your attendees to find the sessions most relevant to them.
If you do not configure session groups, then VEX automatically groups your sessions into two possible groups. The first automatic group is “Agenda” which contains any sessions that are upcoming or currently live. The second automatic group is “On Demand” which contains any sessions set with a session type of “On Demand” or which had been live, have ended and have an On Demand video set. For more information see Adding and Configuring a Session.
To begin using Session Groups, navigate to the Session Groups tab within your event configuration.
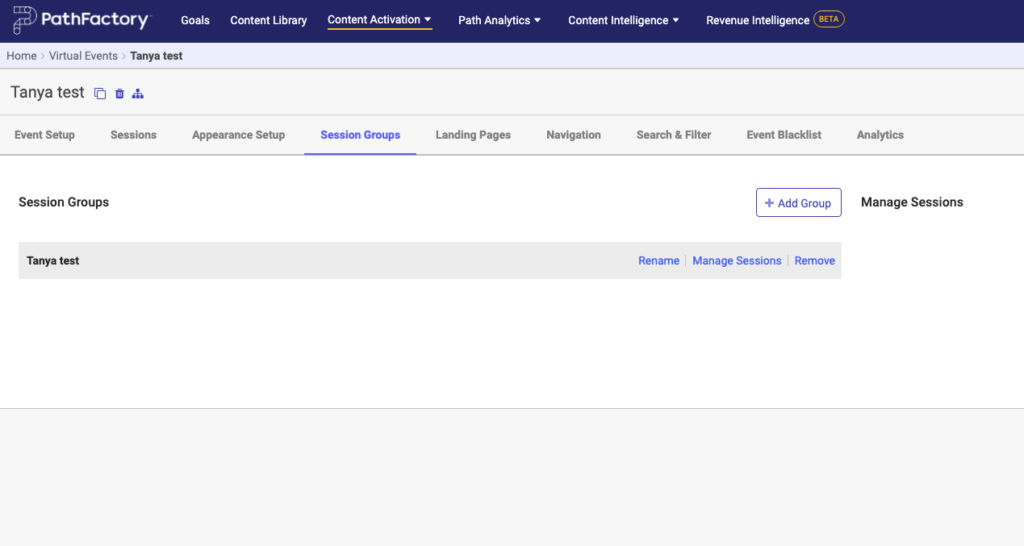
Click the +Add Group button to add a new group. This will pop-up a window where you can give the group a name. This name is both what is used within the Session Group tab to differentiate each group and is also what your attendees will see as a group heading. Repeat, creating as many groups as your event requires.
You can then use the links to the right of each group name to make changes to them. The Rename link allows you to change the name of an existing group.
The Manage Sessions feature allows you to add sessions to that group, reorder sessions within that group, and remove sessions from that group. For more information see Managing Sessions within a Group below.
The Remove link allows you to delete a group. Note: When a group is deleted it is permanently removed and cannot be recovered. The sessions within the group are not deleted, but will no longer be displayed within that group.
Managing Sessions within a Group
After clicking on the Manage Sessions link next to a given group, you can control which sessions are displayed within that group. You will know you are working on a given group because the group name will become bolded.

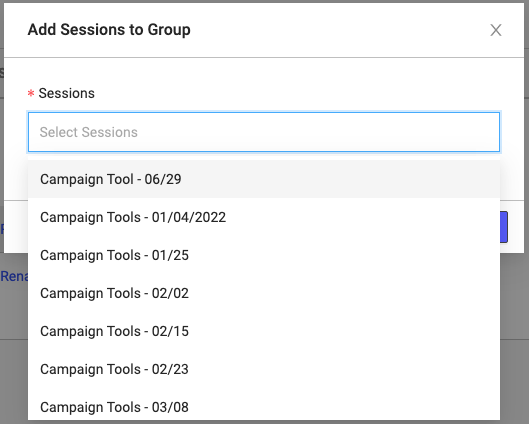
To add new sessions to the group click the +Add Sessions to Group button (highlighted above). This will display a window with a multi-select dropdown menu with available sessions to add, as shown below. Click on the Sessions field to reveal a dropdown list to choose from, should you want to copy a session you had previously created. Note: You can include a session in more than one group if you wish.
To remove a session from a group, simply click Remove to the right of the session name. This removes the session from this group, but does not delete the session from the event.
You can change the order the sessions are presented on the Event Home Page or any Landing Page which uses the Session Group by clicking and dragging the handle to the left of the Session Name.
